
Acne and problem skin is one of the leading reasons clients seek out professional help. According to the American Academy of Dermatology, about 40 million to 50 million Americans have acne at one time, making it the most common skin condition in the United States.
Performing consistent effective facial treatments will not only benefit the client’s overall appearance, but will also help bolster their self-esteem. A study this year by The British Journal of Dermatology found that there is a 63 percent increased risk of depression in someone with acne compared with those with clear skin.
While estheticians do not diagnose or treat acne, they must be aware of this skin condition and know how to properly provide a facial for problem skin.
The Best Technique for Extractions
When it comes to extractions, technique is an important factor. Understanding and practicing proper extraction methodology is one of the most important skills an esthetician must learn.
Performed incorrectly, extraction can cause: excessive skin damage, infection, or scarring.
NOTE: Each state in the United States has specific requirements for esthetic training and subsequent licensing, as well as regulates the type of treatment and implements permissible by state law. You must check with your individual state boards to thoroughly understand the amount of training hours and types of implements allowed in order for you to perform extractions as a licensed esthetician.
How to Sanitize Tools for Extractions
Proper sanitation and sterilization is essential when performing extractions, and must be correctly executed before, during and after each treatment.
A sterilizer or autoclave kills all micro-organisms including bacteria, viruses, fungi and bacterial spores with highly pressurized steam.
All reusable implements should be placed in the autoclave between treatments. If you don’t have a sterilizer or autoclave, only use disposable implements and dispose of these after every usage so there is no risk of cross contamination.
In addition a high frequency machine is a useful and unique tool for acne-prone skin, helping prevent secondary lesions and decreasing the appearance of inflammation.
Required Equipment for Extractions
- Eye pads
- Spatula
- Hand Cream
- Makeup remover
- Medical grade mixing bowl
- Scissors
- Sink or basin of water
- Sterile gauze
- Sterile cotton swabs
- Sterile cotton
- Cotton squares
- Vinyl gloves
- Medical grade tissues
- Anti-bacterial wash
- Anti-bacterial spray
- A garbage can with closing lid
- 70% Isopropyl alcohol
- A sharp box
- Robe for the client
- Comedone extractor
- Lancet (where permissible by state law)
- Fresh linen
- Desincrustation machine – This will aid in the removal of black heads and other impurities.
- Magnifying lamp – You need at least 5X magnification to allow a clear view of the blackhead and also protect the client from breathing on them directly.
How to Perform Consultation and Skin Analysis Before Extractions
A consultation with new clients should take 10 to 20 minutes. A follow-up consultation should take less time. Have your clients fill out a skin analysis chart and sign it.
Important questions to have in the skin analysis chart:
- Do you have allergies?
- Have you ever been treated by a dermatologist?
- Have you ever taken or currently taking Accutane?
- Do you use glycolic acid on a regular basis?
- Do you have a metal plate in your body?
- Are you epileptic?
- Are you pregnant?
- Do you take any anti-inflammatory drugs such as steroids, prednisone or cortisone?
This is also the time to ask clients about their goals, concerns, and find out about their lifestyle:
- Do they work out or play sports?
- What kind of makeup doe they use?
- Are they on any special diet? (For female clients, you may find out that their acne is linked to their menstrual cycle or that it started during menopause.)
- Are they on new medication?
- Are they stressed?
- Are they picking at their skin?
These discussions are the time to set reasonable expectations and goals. Clients need to understand that they did not get their acne overnight, and it will not go away overnight.
Extraction Protocol: How to Perform Extractions
1. Cleanse skin using a soap-free formula that cleanses without causing dryness, preferably one that contains salicylic acid to gently exfoliate the skin.
2. Use a magnifying lamp to check for open pores, open and closed comedones, pustules, milia, or any redness or irritation.
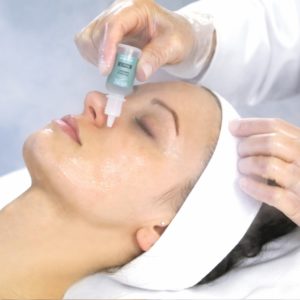
3. If skin is irritated or sensitive, skip steaming. Otherwise, steam the face while applying a gentle skin serum that combines exfoliating ingredients with softening ingredients that help calm the appearance of the skin. This can be applied in gentle effleurage movements. This step, followed by a thorough desincrustation, is essential prior to extraction.
4. Soften the outmost layer of the skin before proceeding with extractions; this is necessary because clients are often using dehydrating ingredients, such as hydrogen peroxide, on their skin at home to treat their acne.
You will most likely find that while the skin is oily, the skin is extremely tight with dead skin cell accumulation. Even the sebum inside the pores is dried out and dehydrated! The client’s skin can be injured if blackheads are extracted in this state. The prep serum is the first step to softening the sebum to perform a gentle, but thorough, extraction.
Remember, the clogging in the sebaceous gland is a kertinaceous plug. Keratin is a hard protein like hair. This keratin should be softened before extractions.
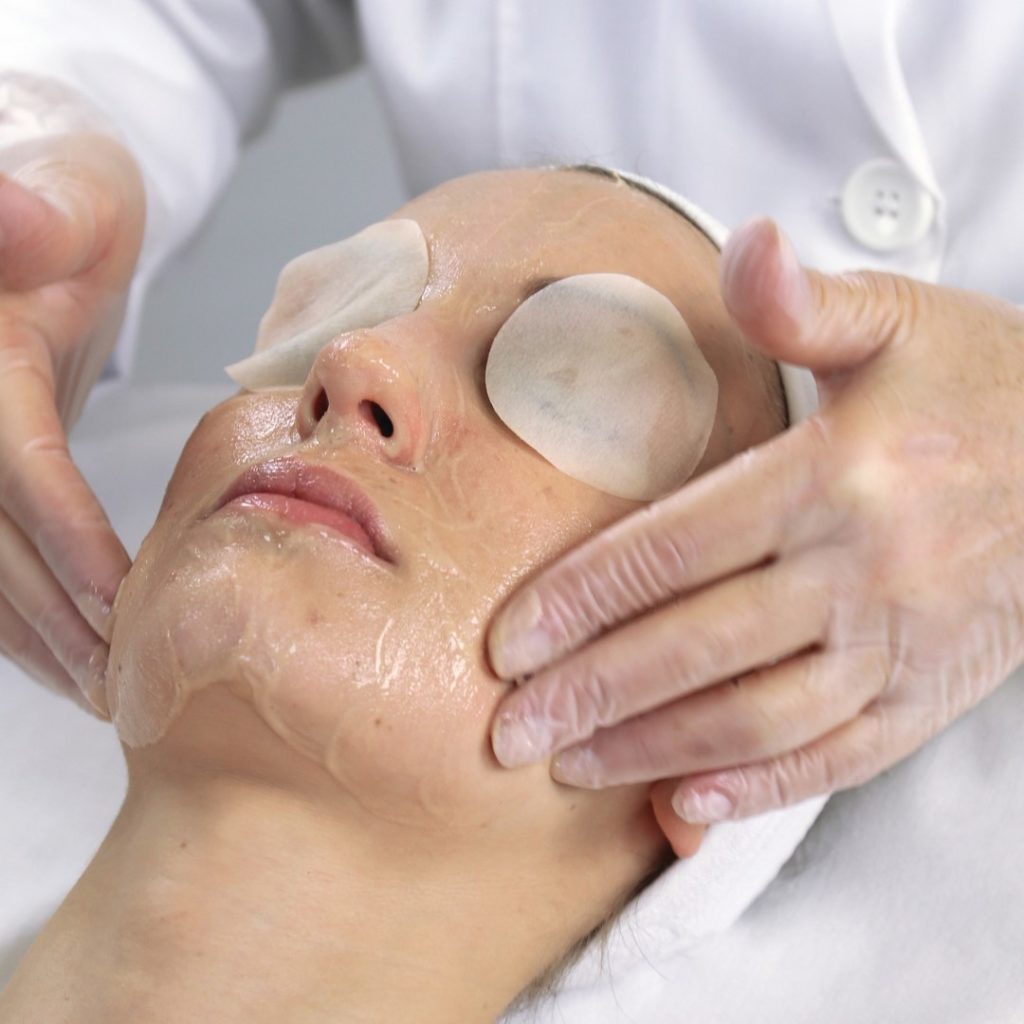
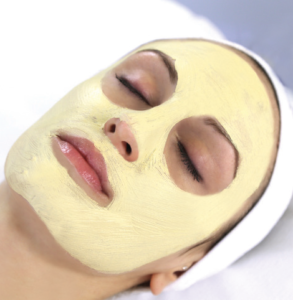
5. Desincrustation is a process of softening the keratinaceous horny plug to allow extractions to proceed easily with minimal trauma to the surrounding tissue. This can be achieved by using the proper desincrustation mask or gel. The efficacy can be increased when used in conjunction with galvanic current. (Please check with the local state board regarding use of galvanic and high frequency.) Desincrustation masks should soften and purify the skin. The mask can be left on for up to 10 minutes.
6. Administer a relaxing upper shoulder massage. Peel off the mask and remove residue with cotton and water. The skin has now been prepped for the extraction process.
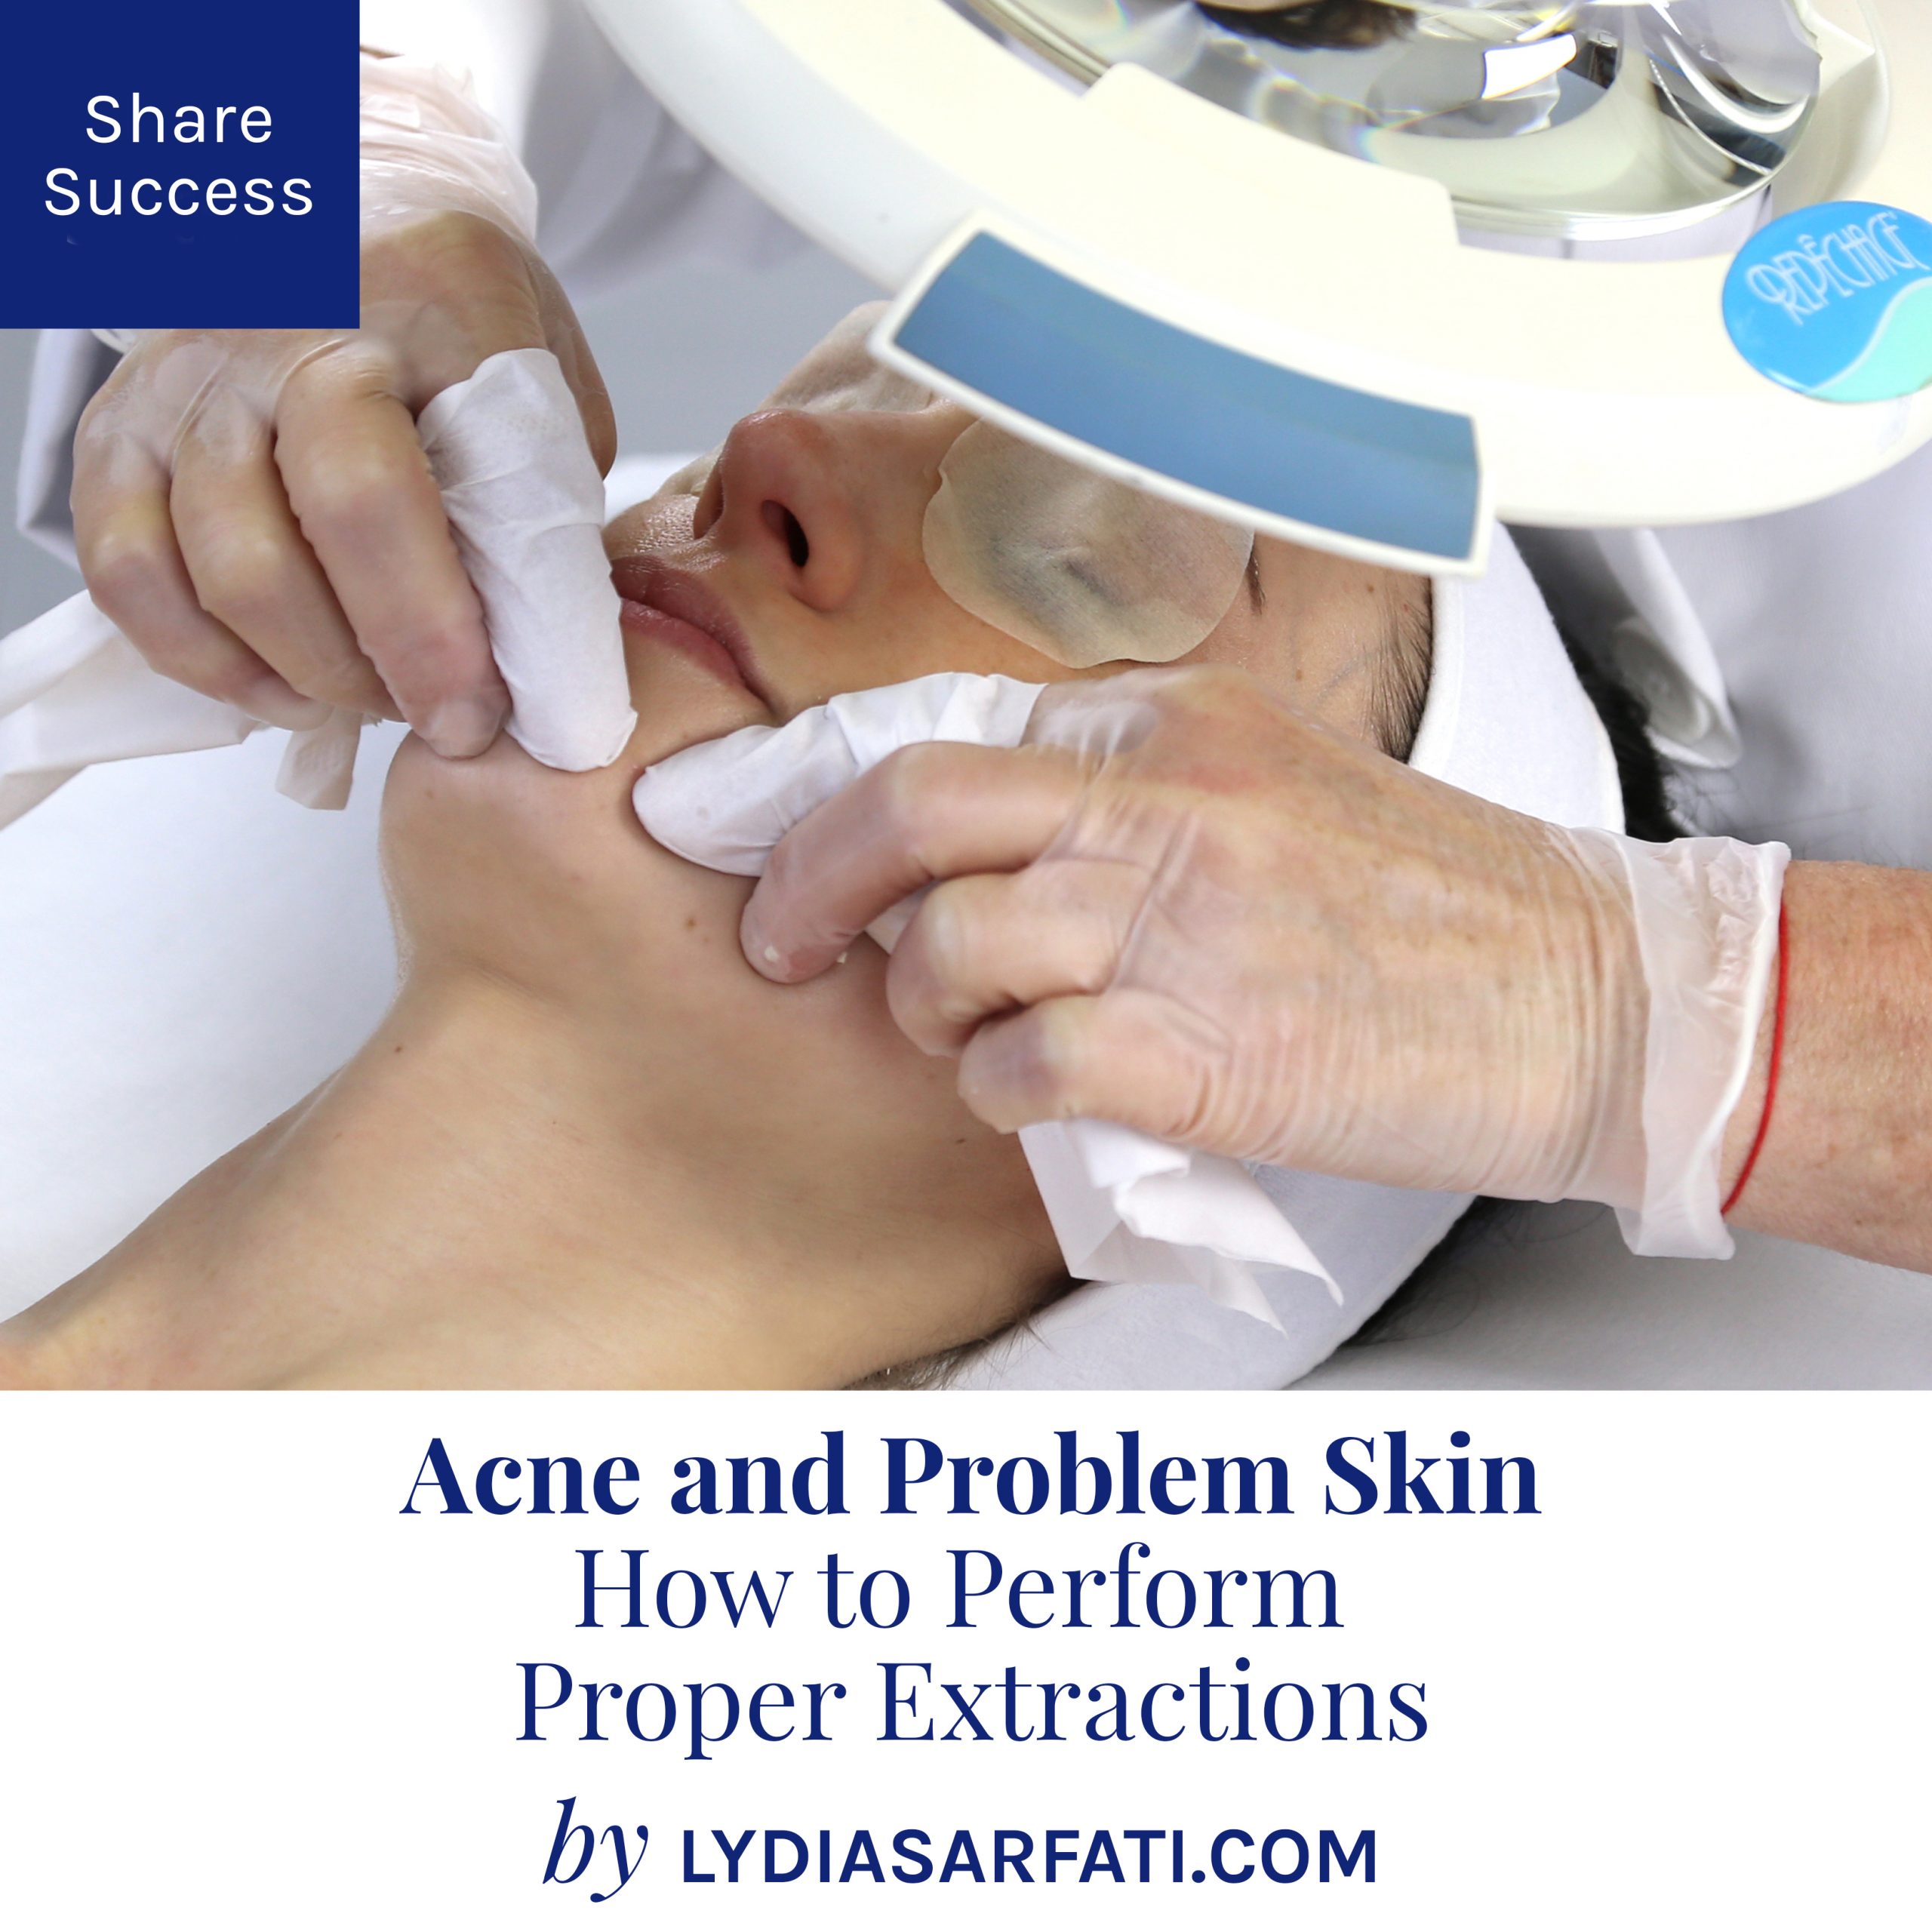
7. Wearing a new pair of vinyl gloves, perform extractions (either manually or or with cotton swabs) using a magnifying lamp. For manual extraction, wrap fingers with astringent gauze and exert firm pressure on the skin surrounding the comedone. Do not use the nails to squeeze, only the fingers. Apply slight pressure, alternating angles to gently lift the comedone from the follicle opening.
Go section by section, starting at the chin. If cotton swabs are preferred, hold the swabs between the index finger and thumb, gently press down on both sides of the follicle, and move the swabs side to side. Do not apply too much pressure, as it can bruise the client’s skin. In both cases, if the contents are still not expelling, simply leave the comedone for the next treatment and proceed to the next area of concern.
For removal of milia or pustules, use lancets. (Check with the local state board to see if it is permissible). Extractions should not take longer than 15 minutes.
8. Saturate cotton squares with astringent containing salicylic acid, a tea blend to soothe and hydrate skin. Do not rub the astringent in, but apply lightly, paying special attention to extraction areas. Applying astringent is critical after extractions, as it helps cleanse the skin reducing the possibility of secondary infection and rehydrating the skin.
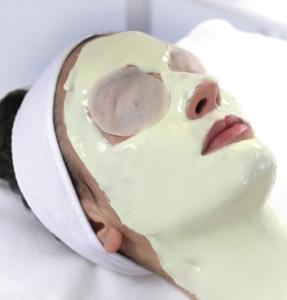
9. Follow with a clay-based mask to help deep cleanse the pores while helping the skin feel soothed. Leave on for seven minutes and remove by applying warm, moist cotton over the entire face, letting it soak for a moment, then removing the mask in quick, gentle strokes. Remove any residue with astringent and cotton squares.
10. Follow with a calamine mask combined with tea extracts, zinc, and organic buttermilk powder to help reduce the appearance of redness. Leave it on for 10 minutes.
11. Perform a relaxing hand massage. The client will appreciate it after the extractions! Afterward, remove the mask with wet cotton and warm water. Follow up with an astringent that helps tone the skin’s appearance. A client should never leave the salon with red, irritated skin after a facial treatment.
12. Apply a mattifying moisturizer that is formulated with zinc and squalane. It is key that the client’s skin is moisturized on completion of the facial treatment to further reduce dryness and the appearance of irritation.
13. High frequency germicidal rays can be applied to the skin for faster healing time of lesions and prevent secondary infections. Starting at the chin, apply it in motions, moving over the entire face for a total of three to five minutes.
Specific areas can also be targeted by lifting the electrode off of the skin. Follow local and state board laws regarding use of galvanic and high frequency devices and understand all possible contraindications.
Don’t Forget to Educate Clients
Education and knowledge are key in helping clients with problem, oily skin. The client should be advised of the importance of spa treatments and following a unique homecare program to maintain the skin’s appearance between appointments.
Discuss breaking bad habits, such as picking and squeezing the skin, over-cleansing and avoiding a moisturizer. A healthy diet should also be maintained, as well as avoidance of overexposure to ultraviolet light.
Experience has shown that proper treatment of oily, problem skin is critical to an aesthetician’s skill set, yet, once mastered, can be the key to business success. Spending time perfecting this critical technique can result in a strong, thriving client base!
This article was first published under the title “A Step-By-Step: Acne Treatment and Proper Extraction Protocol” in Dermascope Magazine, December 2017.